Free Tattoo Stencil Tips And Tricks For Beginners
The foundation of a good tattoo needs to be built on a good stencil. A poor tattoo stencil can make or break your tattoo. It acts as the outline of most tattoos and is the best guide for you to follow while tattooing. If you’re struggling with your stencil game, these tattoo stencil tips and tricks are sure to help you improve. Chances are, you’ll see an improvement the very next time you tattoo!
Here are some of the most important tattoo stencil tips and tricks to follow for beginners:
![]()
What is stencil paper?
Before we can dive into the many tattoo stencil tips and tricks we have in store for you, let’s get back to basics a bit and clarify what stencil paper is and why it’s important.
Stencil paper, or tattoo transfer paper, is a thin sheet of paper that is used to create the outline of a tattoo using carbon. The basic tattoo design is created on the stencil paper once approved by the client. It is then transferred from the paper to the skin, to create a semi-permanent outline on the skin which the artist then follows with the tattoo needle dipped in ink.
Here's your first of many tattoo stencil tips and tricks: A good stencil transfer must be visible to you throughout the entire tattooing process and should have all the required details. It should also allow the tattoo ink to be visible throughout the process.
This means that the color of the stencil must not clash with the colors of the tattoo, or with the client’s skin tone. For example, certain color stencils might not fare well on darker skin tones. Similarly, if the tattoo is blue, it wouldn’t make sense to use a blue stencil because the distinction between ink and stencil may not be readily evident.
Like this post? Check out our post on Proper Tattoo Studio Hygiene Practices For Beginners
Types of Stencil Paper
Next in our series of tattoo stencil tips and tricks is understanding the types of stencil or transfer papers. In this post, we’ll explore the two main types: thermal paper and hectograph paper.
Thermal Paper
As the name suggests, this type of stencil paper uses heat to transfer the stencil from the printer paper to the thinner stencil paper. Us tattoo artists have the printing industry to thank for this invention since it was originally intended for use in electronic typewriters. Today, our industry is one of the biggest consumers of this type of paper.
Thermal paper is excellent for creating tattoo stencils since it can be used with a thermal printer to create neat, crisp images. It’s also the most commonly used tattoo stencil paper as thermal stencil printers have become more accessible.
Thermal paper comes in four layers. The first layer contains the tattoo outline and has a white color. The second layer is a protection layer between the white paper snd the carbon paper, and serves no purpose creating the stencil, so it’s to be discarded. The third layer is the ink layer, made of carbon. This does the transfer onto the white paper and is what ends up on the skin as the stencil. The last layer is yellow, and its purpose is to keep the original outline in place when a stencil copy machine is used.
Where a machine is used, you can create your stencil on a regular blank sheet and slide it between the ink layer and the bottom layer. This speeds up the process and allows you to work without fear of messing up your stencil paper.
Hectograph/Freehand Paper
We also have the printing industry to thank for this type of paper. It was originally used in first-time typewriters which used pressure to copy the imprint of the keys. It’s typically cheaper than thermal paper and comes in three layers.
The top layer of the hectograph/freehand paper is for drawing the outline. The middle layer acts as a tissue layer and should be discarded at the beginning of the stencil process. The bottom layer is the carbon layer, and transfers the outline to the skin and can come in different colors.
The artist will need to go over their printed image with a pen on top of this kind of paper. It can create some inconsistency and if you make a mistake, you have to start from scratch. It is also time consuming if you realise that you have printed the wrong size and have to make a new stencil. This is the best type of stencil paper for beginners to practice on since it’s easier to start over if you make a mistake. Plus, using thermal paper in the beginning stages of practicing these tattoo stencil tips and tricks can burn a hole in your budget.
![]()
Preparing The Skin For Transfer
The best tattoo stencil tip you can get for preparing the skin for stencil transfer is cleaning the area thoroughly. Start by shaving the area. It doesn’t matter if the person has light or dark hair. Hair can affect the outcome of the stencil, causing smudging and misalignment, especially when working with fine lines. Shaving also helps to remove dead skin and any moisturizer build up that can peel or flake off during tattooing and helps with skin hygiene.
Once shaved, clean the area with rubbing alcohol. This sterilizes the area for tattoo application and removes oils or lotions that can affect the way the stencil adheres to the skin. Pat the area dry before applying the stencil to the skin.
Once the area has been prepared, you will move on top placing the stencil. Most professional studios will use a stencil application gel (commonly called Stencil Stuff) but if you don’t have access to this, a non scented stick deodorant also does the job. You will apply a thin layer and wait for it to become a bit sticky. You will then gently stick the stencil to the skin, and keep it in place for a few seconds. Don’t rub the stencil like one of those bubble-gum tattoo stickers. This can cause the stencil to smudge, and you’ll end up having to do it all over again. Instead, pat it down gently so that it sticks to the skin perfectly.
You will then peel the stencil apper off, leaving behind a satisfying stencil. If you have made a mistake and need to stick it again, you can use a stencil remover or rubbing alcohol with a paper towel and rub the stencil off. It may take a few tries to get the old stencil off, especially if your client is quite pale.
Tattoo stencil tips and tricks: Minimizing smudging while tattooing
Remember that the stencil is not permanent, so you’ll need more tattoo stencil tips and tricks to minimize smudging while tattooing.
If the stencil smudges while you’re tattooin, it can become a nightmare when working with large or intricate pieces. You can minimize the risk of smudging by keeping your hands off the stencil as much as possible. This might seem difficult since you’re in direct contact with the skin. You just have to be more mindful since the thermal ink will transfer once met with body heat.
When wiping the tattoo, use distilled water or diluted green soap. This will remove excess ink and blood without taking away too much of the stencil ink. Don’t use alcohol-based wipes either. Instead, use paper towels and wipe away from the tattoo. This will avoid smudging areas you haven’t started working on. If you notice your stencil has started smudging, you can switch to wiping with a dry paper towel until you are done with the outline. This can be a bit more painful for your client, but we are certain they would rather have an arrucate tattoo and be in a bit of pain, than have you lose your stencil half way through!
![]()
More tattoo stencil tips and tricks
We’ve covered the basic tattoo stencil tips and tricks that you’re likely to hear or come across. Now, it’s time for additional tattoo stencil tips and tricks that will advance you to the next level.
Utilize technology
A lot of tattoo artists are moving away from the traditional way of creating stencils. Many use tablets and computers as a faster way to complete perfect designs. These can be easily resized if the client isn’t happy or duplicated to compare placement. Once printed, they are applied to the skin. Unfortunately, these do not offer complete control of hand-drawn stencils and may have to be tweaked manually.
Take your time
There’s no rush when it comes to applying a tattoo stencil to the skin. Getting the placement right is everything. Let’s say you just slap a stencil on your client’s back. Halfway through the tattoo, you might realize that it was not aligned properly. Now, you have a client with a crooked tattoo and loads of compensating and apologizing to do. You can avoid so many mistakes by simply taking your time.
Use a skin marker to help with placement
Large tattoos will naturally have larger stencils. This can feel a bit awkward to place, especially when working with the body contours. Using a skin marker to help with alignment and placement can help make applying the stencil much easier, and ask for help from your fellow artists.
Ensure your client stays still
Clients aren’t mannequins, so of course, they’ll move or fidget especially when nervous. Some clients may come in and try to use their phone during the whole session or engage in conversation. This will cause movement which does get in the way and can cause the stencil to shift, or the skin to warp. Asking your client to remain still is one of the important tattoo stencil tips and tricks that can prevent poor stencil placement.
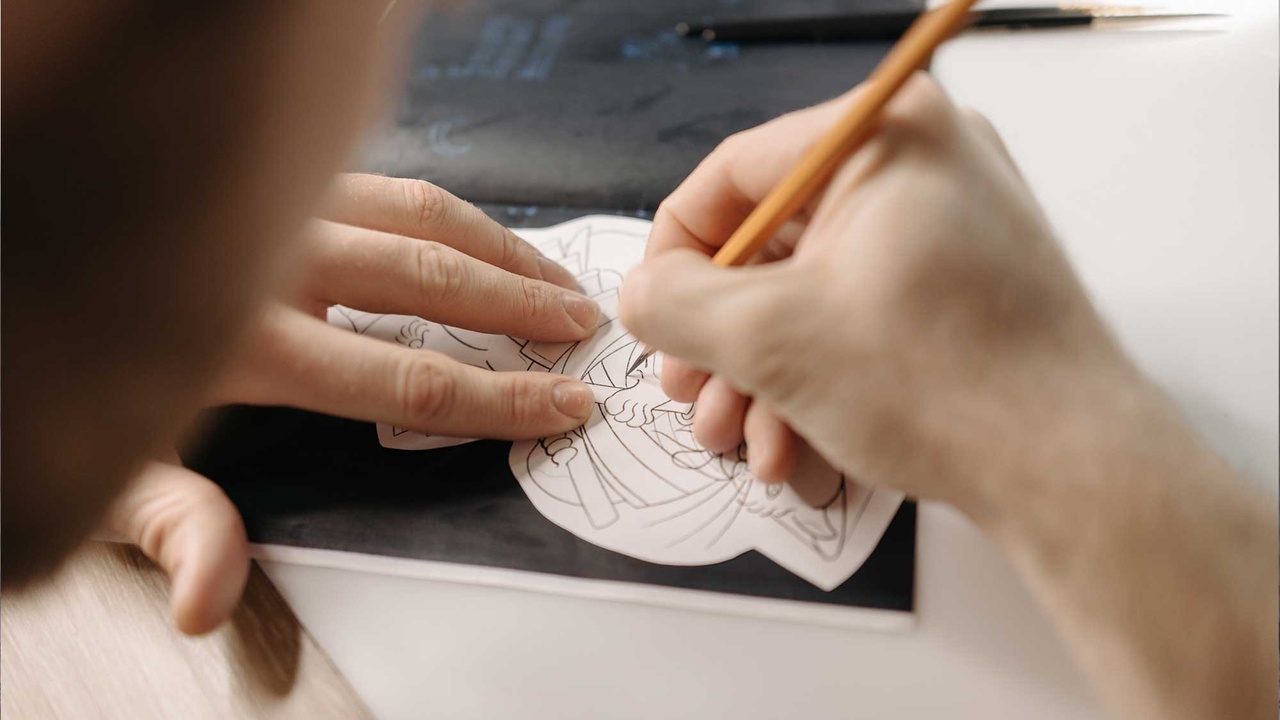
Erase the parts you don’t like
Ideally, the stencil should be a perfect outline. Sometimes, this doesn’t happen and you won’t get a perfect transfer. Feel free to go in with some antibacterial wipes and a pen to fine-tune the design. Here, you can correct minor placement issues and improve symmetry.
Use multiple stencils where necessary
One of the many misguided tattoo stencil tips and tricks is that you have to use a single sheet. You don’t have to use one giant stencil for a large tattoo. Using multiple stencils improves the chances of a better transfer, and makes placing the stencil paper on the body a bit easier. Just make sure you get the alignment right.
Stenciling portraits isn’t the same
Another one of our important tattoo stencil tips and tricks is that stenciling portraits and other forms of realism aren’t the same as a standard tattoo stencil. Here, you are only using the stencil as a guide for shading, not as an outline of the image. There are no hard lines here. Dots work better at initiating a soft, realistic image, and prevent a cartoonish look.
Wrapping Up Tattoo Stencil Tips and Tricks
Once you understand all the tattoo stencil tips and tricks we've outlined, you're pretty much on your way to mastering tattoo stenciling. The most important of our tattoo stencil tips and tricks to remember is to be patient and give yourself time. Practice makes perfect and caution makes for better work.
Stay connected with news and updates!
Join our mailing list to receive the latest news and updates from our team.
Don't worry, your information will not be shared.
We hate SPAM. We will never sell your information, for any reason.


